If you’re a first-time user, making use of the Balboa Topside Control Panel function can seem pretty tasking. However, controlling your spa comes easy — thanks to the intuitive graphical user interface.
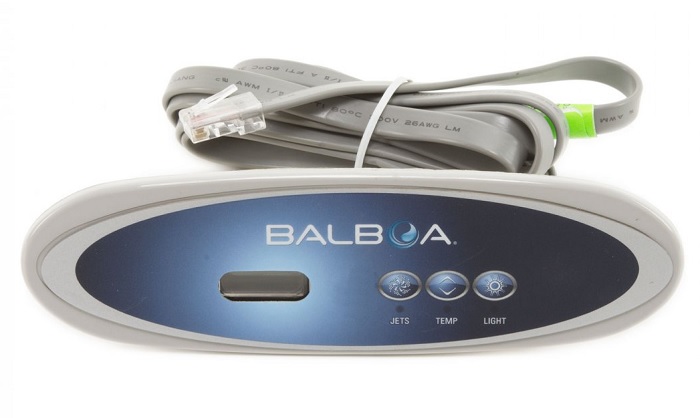
Balboa Topside Control Panel Instructions (User Guide)
In this article, we have provided a comprehensive guide to Balboa Topside Control Panel instructions.
1. Waking Up the Panel
When the screen is blank, touch it to wake it up. You will see one of three screens:
- Main screen: This is the default screen when the panel is awake.
- Icon screen: Press the icon on the screen, then press it again to wake up the panel.
- Hand icon screen: Press the hand icon on the screen and swipe in the direction of the arrows to wake up the panel.
The panel automatically goes into sleep mode if not used for a while. The duration can be adjusted.
2. Buttons
The panel has various buttons for different functions and settings. The large temperature display is a button that controls the set temperature. There are also several button on the bottom row of the Main screen.
- Mini Player Button (Set Temperature/Time): This button provides quick access to set the temperature and time. To show or hide the Mini Player button, press the Heater Status button once.
- Mini Player Button (Music): If your spa has Balboa Bluetooth Audio (bbaTM) activated, the Mini Player button displays music controls. To hide the Mini Player button, press the Heater Status button twice. The first press shows the Set Temperature/Time Mini Player button, and the second press hides it.
- bbaTM Button: If bbaTM is activated, pressing this button once displays the Mini Player with music controls. Pressing it a second time opens the Music screen. If bbaTM is not activated, pressing the bbaTM button once opens the Music screen. If your spa has bbaTM, refer to the user guide that came with the spa. If you don’t have a user guide, please contact the spa dealer or manufacturer.
- Swiping & Selecting Items in Lists: To find a specific setting in a list, swipe the list until you see the preferred setting. The list will have an arrow indicating the current setting. If your desired setting is not aligned with the arrow, tap it to make it align. To close the temperature list, tap anywhere outside of it.
3. Temperature Settings
Below are the instructions for setting the temperature on the Balboa Topside Control Panel. In this example, we will set the temperature to 112:
4. Setting the Temperature
- Press the water temperature display button to open the temperature menu.
- The center box with an arrow shows the current Set Temperature.
- If 112 is already displayed but not centered, touch it to center it.
- f 112 is not displayed, swipe the temperature menu until 112 appears.
- If 112 appears but is not centered, press 112 to move it to the center box.
- Press the water temperature display button again to close the temperature menu. The Set Temperature is now 112.
5. Viewing the Set Temperature
- Press the Heater Status button.
- The Set Temperature will appear in the Mini Player button.
- Press the Heater Status button again to hide the Mini Player button.
6. Diagnostics Screen
To access the Diagnostics screen:
- From the Main screen, press the Settings button.
- Then press the Diagnostics button.
7. Info
The Info area displays various system settings and identifications.
- System Model: Displays the Model Number of the System.
- Panel Version: Displays the software version of the topside control panel.
- Software ID (SSID): Shows the software ID number for the System.
- Configuration Signature: Displays the checksum for the system configuration file.
- Current Setup: Shows the currently selected Configuration Setup Number.
- Dip Switch Settings: Displays a number representing the DIP switch positions on the main circuit board.
- Heater Type: Shows the heater type ID number or “Standard”.
- Heater Voltage (North American system / UL): Displays the operating voltage configured for the heater in North American/UL control systems.
- Heater Wattage (International System / CE): Displays the heater wattage range configured for the control system in International/CE control systems.
8. Faults
- Faults is a record of the last 24 faults that can be reviewed by a service technician.
- Use the arrow buttons to navigate through the Fault Log.
- “Priming Mode” in the Fault Log is not a fault but is used to track spa restarts.
9. Heat Settings
- To access the Heat Settings screen, press the Settings button from the Main screen.
- Then press the Heat button to open the Heat Settings screen.
- Changes made on the Heat Settings screen take effect immediately, and there are no Save or Cancel buttons.
10. Temperature Range Settings
There are two temperature range settings: High and Low.
High Range
- When the Temp Range is set to High, the water temperature can be set between 80°F – 104°F (26.6°C – 40.0°C).
- To switch to High Range, press the Temp Range button. The icon will appear in the top row of the Main screen when the spa is in High Range.
Low Range
- When the Temp Range is set to Low, the water temperature can be set between 50°F – 99°F (10.0°C – 37.2°C).
- To switch to Low Range, press the Temp Range button. The icon will appear in the top row of the Main screen when the spa is in Low Range.
- Different manufacturers may have different temperature ranges for High and Low settings.
- The Freeze Protection feature is active in both High and Low range settings.


