The Sensi Thermostat is designed to work directly with the most popular smart home systems allowing you to enjoy a wide range of features. With the basic settings, you can expect a cozy experience. However, if you want to fine-tune the thermostat, you might want to dive deeper into the advanced settings.
This article lists all the Sensi thermostat advanced settings to try out to enjoy a better experience.
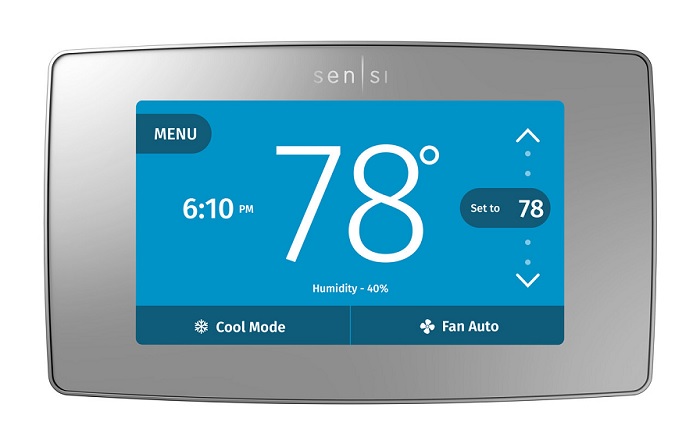
Sensi Thermostat Advanced Settings Guide
1. Scheduling
To save time and money, you can set up a schedule on your Sensi Thermostat that automatically adjusts the temperature according to your preferences. Each thermostat can have its own schedule.
If you don’t like a set schedule, you can use geofencing instead, which adjusts the temperature based on whether you’re at home or not. The geofencing feature can be found under the scheduling tab.
Here are the steps to set up, edit, and activate a schedule on your thermostat:
- Choose the thermostat you want to change.
- Tap “Schedule.”
- Tap “Edit Schedules” to see all your schedules.
- Your schedules are organized by system mode. You can either edit an existing schedule or create a new one. For example, you can create a new schedule for cooling or edit your vacation schedule. Note: The schedule with a checkmark is the active schedule for that mode. You must have at least one active schedule per system mode, even if you’re not using it.
- To edit an existing schedule, select the “Edit” option next to it.
- To create a new schedule, tap the “+ Create a New Cool Schedule” button.
- If you want, you can start by copying an existing schedule. To do this, select the “Copy” option next to that schedule.
- To create a new schedule from scratch, tap “create new” at the top.
- In the first editing schedule, you can group the days that will have the same time and temperature settings. By default, Monday to Friday and Saturday to Sunday are grouped together. You can move the days around by tapping them and placing them in the desired group. You can also delete a group by using the “Delete a Day Group” option. On Android devices, press and hold “Edit Daily Schedule” for the empty row to delete it.
- Once you’ve sorted the day groups, tap “Edit temperature settings” to adjust the desired temperature for each setpoint.
- Tap on any setpoint to change the time and temperature. Note: You can add more setpoints by tapping the “+ Add a New Setting” button. To delete a setpoint, tap the “Delete a Setting” button. On Android devices, press and hold any setpoint to delete it.
- When you’re finished, tap the arrow in the upper left-hand corner to go back to the day groupings and make changes to other groups if needed. Once you’re done editing your schedule, make sure you select it under the system mode drop-down menu. Then, tap the arrow in the upper left-hand corner to return to the main scheduling screen.
- Ensure that “Programmed schedule” is selected so your Sensi thermostat follows your new schedule.
- To see a timeline of your setpoints, tap the arrow in the top left-hand corner.
2. Switching System Mode
Press the mode button to choose different system modes. When it’s set to “Off,” your heating or cooling systems won’t turn on.
3. Fan Mode
If you want to circulate air with the indoor blower, you can set the fan mode to “On.” Switch it back to “Auto” to let the thermostat control the blower as needed. Leaving it in “On” mode will keep the blower running continuously.
4. Holding One Temperature
If you want to maintain a specific temperature, turn off the schedule function. Then, use the up and down arrow buttons to adjust the set temperature. The thermostat will keep this temperature until you turn the schedule back on or change the set temperature again.
5. Temporary Hold
When the schedule is on, the Sensi thermostat follows the programmed time and temperature settings. To temporarily change the temperature, use the up and down arrow buttons on the app or thermostat.
The thermostat will display the duration it will maintain the new temperature next to the set temperature. It will keep the new temperature until the next scheduled set point, with a minimum duration of two hours.
Menu Settings for the Sensi Thermostat
In the menu, you can find various settings and options for your thermostat. Please note that the “Time Setup” sub-menu is only accessible when Wi-Fi is turned off.
Sleep Mode
You can choose whether to display the room temperature even when the Sensi Touch screen goes to sleep. Simply toggle your selection from this menu.
Back Glow
- The back glow light helps you see the wiring and terminals when installing the thermostat on the wall. There is a switch on the thermostat base. Make sure to turn the light off before attaching the thermostat face to the base.
- After installation, you have the option to turn the back glow on or off from the thermostat menu, which helps illuminate the area near the thermostat.
- Note that for this feature to work via the thermostat menu, the back glow switch on the thermostat base must be in the “off” position.


