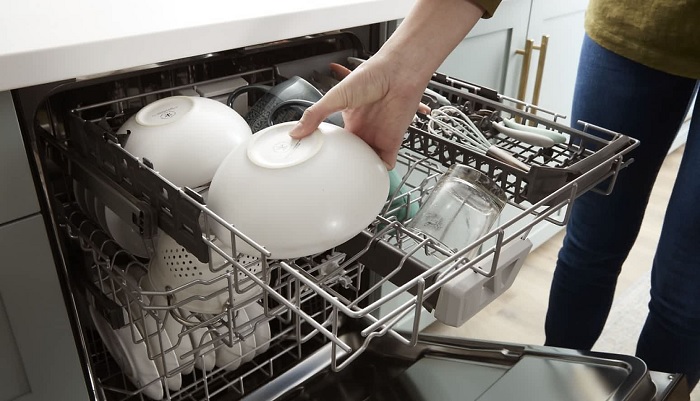
The Whirlpool dishwasher diagnostic mode is a helpful feature that allows you to troubleshoot and fix problems with your dishwasher. It is like a special mode that lets you check for errors and see how the dishwasher is working.
When you enter the diagnostic mode, you can run a test cycle to automatically check for any issues. You can also manually turn different parts of the dishwasher on and off to see if they are working properly. This helps you identify any errors and figure out what might be wrong with your dishwasher.
If your Whirlpool dishwasher is not turning on or you notice any other problems, using the diagnostic mode can help you find the error and fix it quickly.
Whirlpool Dishwasher Diagnostic Mode Guide
Below is a guide on how to run the diagnostic mode on the Whirlpool dishwasher
1. Using Cycles + Start/Cancel Button
- Start by turning off the dishwasher and ensuring that all LED lights are off. Unplug the dishwasher from the power source.
- Once the dishwasher is unplugged, reconnect it to the power source and open the door.
- Locate the Cycles button and the Start/Cancel button on the dishwasher’s control panel.
- Press the Cycles button and the Start/Cancel button together once, and then release them.
- Press and hold the same two buttons (Cycles and Start/Cancel) for approximately 60 seconds. It’s important to keep them pressed for the entire duration.
- After 60 seconds, close the dishwasher door securely.
- At this point, the dishwasher should enter the diagnostic mode, and you can observe it running the diagnostic cycle.
2. Pressing a Combination of Three Buttons
- Some Whirlpool dishwasher models offer an alternative method to enter the diagnostic mode.
- Ensure that the dishwasher is turned off and not connected to the power source.
- Identify three buttons on the dishwasher’s control panel, excluding the Start, Delay, or Cancel buttons.
- Press the three buttons in sequential order, starting with button #1, followed by button #2, and then button #3. Make sure to press them quickly, with no more than a second of delay between each press.
- For specific models, after pressing button #2, promptly close the dishwasher door.
- Once the door is closed, the dishwasher will initiate the service or diagnostic cycle, indicating that the diagnostic mode has been successfully entered.
Note that these instructions are provided as a general guide and may vary slightly depending on the specific model of your Whirlpool dishwasher. It’s always a good idea to check the user manual or contact Whirlpool customer support for accurate instructions tailored to your dishwasher model.
3. Using a Combination of On/Off and Start/Pause
- Make sure the dishwasher is turned off, and there are no lights on.
- Disconnect the dishwasher from the power outlet.
- Wait for at least 10 seconds, and then reconnect it to the power outlet.
- With the door open, quickly press the On/Off and Start/Pause buttons together.
- Hold down the buttons within the first 60 seconds of reconnecting the power for this method to work.
- Close the door.
- The dishwasher should enter the service mode after following these steps.
4. Using the Rinse and Start Button
- Turn off the dishwasher, ensuring that the LED lights are off.
- Disconnect the dishwasher from the power source.
- Reconnect the dishwasher to the power source and open the door.
- Press and hold the Rinse and Start buttons simultaneously.
- Keep holding the two buttons for about 60 seconds after reconnecting the power source.
- Close the door.
- Your Whirlpool dishwasher should automatically enter the diagnostic mode.
Keep in mind that the entry procedures for options 1, 3, and 4 are quite similar. The main difference lies in the specific combination of buttons to press. Choose the option that best suits your dishwasher model.
Whirlpool Dishwasher Error Codes & Fixes
1. Error Code E1
- If your dishwasher shows the E1 error code, it means there’s a problem with the water inlet.
- This can happen if the flow meter fails to detect proper water fill within 240 seconds during the water inlet test.
- The E1 code can also indicate a draining issue if the water takes longer than 8 minutes to drain.
- Check for major leaks in the hoses and connections, and ensure there’s a proper loop in the drain hose.
- If there are no leaks and the problem persists, there might be a defect in the drain pump.
2. Error Code E3
- The E3 error code suggests a possible failure of the dishwasher’s heater.
- It means that the unit doesn’t reach the expected temperature within ninety minutes during the wash pump troubleshooting.
- Inspect the heater, thermistor, and control components, and repair or replace them as needed.
3. Error Code E4
- The E4 error code indicates a potential overflow in the dishwasher, meaning the reservoir is full and cannot take more water.
- This problem can occur if the water pressure is set too high or if there’s an obstruction in the drain check.
- Ensure you’re using the correct detergent in the right amount and that the dishwasher is properly leveled.
- Check the power flow switch and consider replacing it if it’s causing the E4 error. The LONYE float switch is a recommended option.
- Verify that the drain pump is functioning correctly to prevent potential flooding.
4. Error Code E6
- If your dishwasher displays the E6 error code, it means the temperature sensor has an open circuit.
- Check the water temperature, thermistor, and control to identify any potential issues causing the problem.


