The Reolink Two-way audio feature, as found in most security cameras, is a good enhancement. Once it’s not working/stops working, it loses a part of its technical value.
It’s specifically important to get Reolink two-way audio back if you use it constantly to communicate with family/pets while you are away.
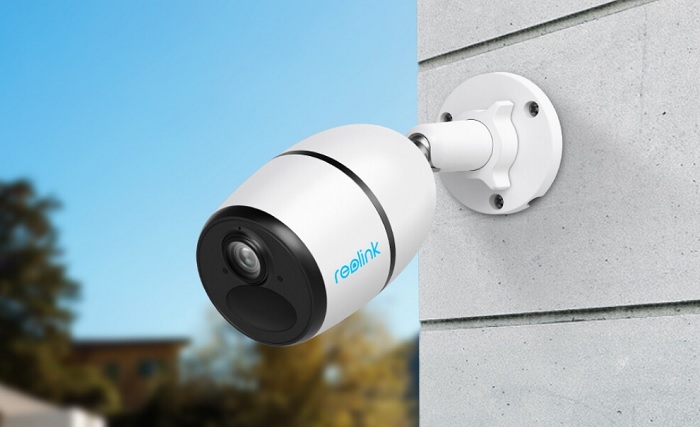
In this article, we will discuss the possible causes for “Reolink two-way audio not working” and provide some effective solutions to fix the issue.
Reolink Two-way Audio Not Working: Causes
Here are some of the most suspected causes of ‘Reolink Audio Not Working’:
1. Volume Slider is not Up
The reason your Reolink two-way Audio is not working might be as simple as not turning your volume up. Firstly, the volume at the bottom of the Live View page may be done or muted.
Also, the volume of computer or phone may not be turned up to maximum. Do well to double-check.
2. Audio Record Is Not Enabled
There’s always an option to either toggle on or off Reolink’s audio recording feature. When it is disabled, you will hear no sound during video live view and playback. It may sound really glaring, but do well to confirm under the settings of Reolink Client software or on the mobile app.
3. Bad Proximity
If you are speaking on the App/Client side too far away from the microphone, it may result in low or no audio. Also, placing the camera at a height above 9 feet or being obstacles may result in poor transmission of audio.
3. Incompatible Resolution
This only applies if you are using the Reolink PoE NVR (they are like DVDs, but are used to connect multiple cameras). Specific versions of the Network Video Recorder (NVR) can only provide audio if the right output resolution is picked for it during set up.
Should the resolution be mismatched, the Reolink would produce no sound at all. We discuss how to solve this issue under the fixes.
4. Outdated App and Camera Firmware
To address bugs, solve certain issues and improve functionality, Reolink manufacturers often release updates. Make sure you are using the latest version of the Reolink app on your smartphone as this may cause compatibility issues. Also, check if your Reolink camera has the latest firmware installed.
5. Reolink Just Needs a Reset
If you’ve been using your camera for some time now, a bug or error might have occurred in one of its many processes resulting which might have affected the audio. Resetting it helps you get it back to default.
Reolink Two-way Audio Not Working: Fixes
We’ve highlighted fixes that can help you fix your Reolink audio below:
1. Double-Check All Volume Sliders
On the live view page of the Reolink software or app, ensure that the audio is not muted by tapping the speaker icon at the bottom of the page. Also, double-check whether the volume of your computer or mobile device is turned up.
2. Enable “Audio Record”
If you suspect that the audio is not being recorded at all, open the Reolink app (on your mobile phone), tap the settings icon at the top right corner, and toggle on the “Record Audio” option. For laptops with installed Reolink Client software, follow these steps:
- Open Reolink
- Go to Camera on the left side menu
- Choose the channels for the cameras
- Select “Audio and Light”
- Make sure Record Audio is enabled.
3. Pick the Right Resolution for your NVR
If you are using a Reolink PoE NVR, having the wrong resolution on your monitor can result in no audio. To resolve this, carefully follow these steps:
- Log in to the Reolink PoE NVR on a monitor, then click on the home button
- Click on the System > System Information. There you can find the Model number of your NVR which is required to solve this issue.
- If the NVR model number starts with NVR6308 or NVR6316, audio output is available only when the output resolution is set to either 1920*1080 or 1280*720.
- If the NVR model number starts with NVR6504 or NVR6508, audio is supported when the output resolution is set to either 1920*1080, 1280*720, or 4K.
- If the NVR model number starts with NVR6608 or NVR6616, audio is supported regardless of the output resolution used.
- Attach the NVR to a monitor/TV (that has a speaker or is connected to one) via the HDMI port.
- Then, select the Screen Resolution that is compatible with the audio output based on the details of the NVR.
Note: You can also change the resolution via the control panel on Windows or system preferences on macOS.
4. Hard Reset your Reolink Cam
Note that resetting your Reolink device will not erase any recordings, it will help you return it to the default/original settings. For most Reolink versions, you will find a reset button or a reset hole (needs a pin) around it.
- For the Reolink E series, simply press the reset button for more than 5 seconds.
- For Reolink Lumus, power on the camera, then press the reset hole for several seconds till you hear “Done, You’ve successfully factory reset your camera.”
- For Reolink Go/ Go Plus and Reolink Argus, make sure the camera is powered before starting. Insert the reset needle into the hole (Reolink Argus have buttons), press and hold for 5 seconds until you hear a sound.
- For Reolink PoE & WiFi cameras, power off the camera. Press the Reset button and power on the camera while still pressing the Reset button. Hold for about 10 sec before releasing the button.
Note that the new Username after reset is “Admin” and password is null (no password). On the app, you may have to scan the QR code and set up the camera again.
5. Update your Camera’s Firmware
Upgrading the firmware of your Reolink camera or NVR is not a herculean task, and can help you solve the audio issue.
- Download the firmware (choose the correct model and version according to your devices) from Reolink Download Center. Unzip the downloaded file and make sure you have the .pak file on your PC.
- Open Reolink Client and log in to access your cameras/NVRs. Afterward, navigate to the Device Settings > System > Maintenance.
- Click the Browse button to choose the appropriate firmware file (.pak)
- Then, click on upgrade.
6. Power Cycle Your Reolink Camera
Power cycling can help resolve minor software or hardware issues, some associated with the Reolink Cam audio. To power cycle, the Reolink camera, turn it off through the camera’s settings or power button, remove the battery, wait for a few minutes, reinsert the battery, and then turn the camera back on.
If your camera does not use a battery, simply unplug from the power source, wait and re-plug. Power cycling can help resolve minor software or hardware issues associated with the Reolink Cam audio.
Wrap-up
By following these simple steps, you should be able to get your Reolink audio back. If the problem persists, it may be a hardware issue, in which case you should contact Reolink support.
![First Alert Smoke Detector Blinking Red Light [Fixed] First Alert Smoke Detector Blinking Red Light [Fixed]](https://homestuffmag.com/wp-content/uploads/2023/04/first-alert-smoke-detector-blinking-red-light-211x150.jpg)
