The diagnostic mode of the Roper Washing Machine helps you to identify and resolve potential issues without the need for professional assistance. By accessing this mode, users can save time and money by troubleshooting problems on their own.
In this guide, we will take you through how to enter the diagnostic mode and resolve error codes in the washer.
Roper Washing Machine Diagnostic Mode Guide
To enter diagnostic mode on the Roper washing machine, follow these steps
- Ensure that the washer is shut off and all indicator lights are off
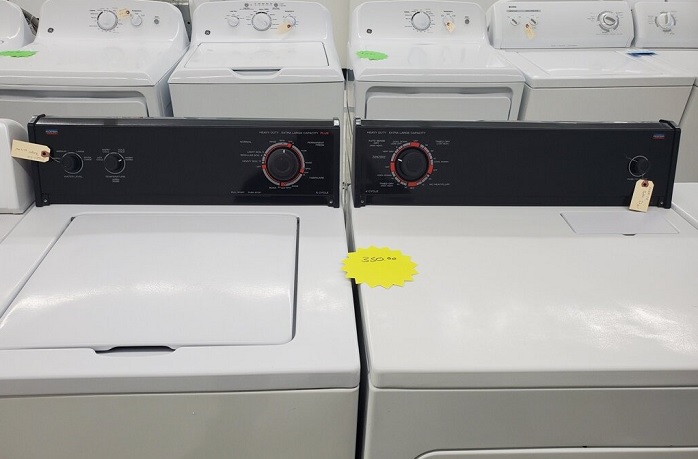
- Turn the control dial in one complete rotation counter-clockwise
- Almost immediately, turn the control three clicks clockwise, one click back, and one click clockwise
- If you have successfully activated the diagnostic mode, all the green status lights will start blinking
- If the status lights don’t blink, turn the control dial one complete rotation counter-clockwise to reset the control and then try again. This time, try turning the knob faster
With the washer in diagnostic mode, follow these steps to display the error code lights
- Turn the control dial one click clockwise and press the start button
- Turn the control dial one click clockwise to display the first error code. The control displays up to 4-digit error codes
- If there are not error codes recorded, you will notice only the sensing lights flashing.
Roper Washing Machine Error Codes
4-digit Failure Codes
- F1-E0: There is a communication error with the control board. To fix this, disconnect power for 30 seconds, then reconnect. Wait for at least a minute after restoring power. If the error code appears again, you need to replace the control board (clock).
- F1-E1: There is an error in the EEPROM checksum. To resolve this, disconnect power for 30 seconds, then reconnect. Wait for at least a minute after restoring power. If the error code reappears, you should replace the control board (clock).
- F1-E2: There are UL A/D errors. To fix this, disconnect power for 30 seconds, then reconnect. Wait for at least a minute after restoring power. If the error code persists, replace the control board (clock).
- F1-E4: There is a model ID error. To address this, disconnect power for 30 seconds, then reconnect. Wait for at least a minute after restoring power. If the error code shows up again, you need to replace the control board (clock).
- F1-E5: The calibration has shifted. To correct this, disconnect power for 30 seconds, then reconnect. Wait for at least a minute after restoring power. If the error code reappears, you should replace the control board (clock).
- All F3-E Codes: These codes indicate a problem with the oven temperature sensor (RTD) or warming drawer. To fix this, you need to replace the oven temperature sensor (RTD).
- F4-E1: This error code points to a defect in the meat probe. Check the probe, receptacle, and probe circuit for any issues like pinched wires, condensation, or contamination. If everything looks okay, replace the probe.
- All F5-E Codes: These codes indicate a door switch defect. If the door is latched, disconnect power and inspect the wires and connections. Replace any damaged parts. If there are no visible issues, reconnect power and hold down any key until the F5 error clears. Once the F2 code appears, select ‘cancel’ and wait for one minute to see if any errors reappear. If the door is not latched, disconnect power and check the wires and connections. Replace any damaged parts. Measure the door switch (latch open = switch open) and latch switch (unlatch = switch open) and replace either if they are defective. After making corrections, reconnect power and test the unit. Press and hold any key to clear the error code, and the F2 code should appear. Select ‘cancel’ and wait for one minute to check for any remaining errors. If the error persists, disconnect power and replace the control.
- F6-E1: This error indicates that the return line is not connected. To resolve this, you need to replace the control board (clock).
- F7-E1: This error occurs when the common wire to the latch switch and door switch is shorted. Check all connections at the control board, latch switch, and door switch. If the connections are fine, then check the individual switches as described for the F5 error code. Note that double ovens will have two of each switch and one common wire.
2-digit Failure Codes
- F0: The control board has failed. To fix this, you need to replace the control board (clock).
- F1: The control board has failed. To resolve this, you need to replace the control board (clock).
- F2: The oven temperature is too high. Check for welded contacts on the bake and broil relays. If you find any, replace the control board (clock). For SELF CLEAN models, check the operation of the door lock. Inspect the sensor, sensor harness, and the connection between the sensor and oven control. Also, look for any causes of high resistance in the oven temperature sensor circuit. Keep in mind that the oven control board (clock) measures the resistance of the sensor circuit, not the actual oven temperature.
- F3: The oven temperature sensor (RTD) is open. To fix this, you need to replace the oven temperature sensor (RTD).
- F4: The oven temperature sensor (RTD) is shorted. To resolve this, you need to replace the oven temperature sensor (RTD).
- F5: The control board has failed. Replace the control board (clock).
- F7: A function key is stuck on the ERC (Electronic Range Control). To fix this, replace the control board (clock).
- F8: The control board has failed. Replace the control board (clock).
- F9: There is a failure with the oven door lock. Check the door lock switches and wiring. Ensure that the lock switch is not stuck.


