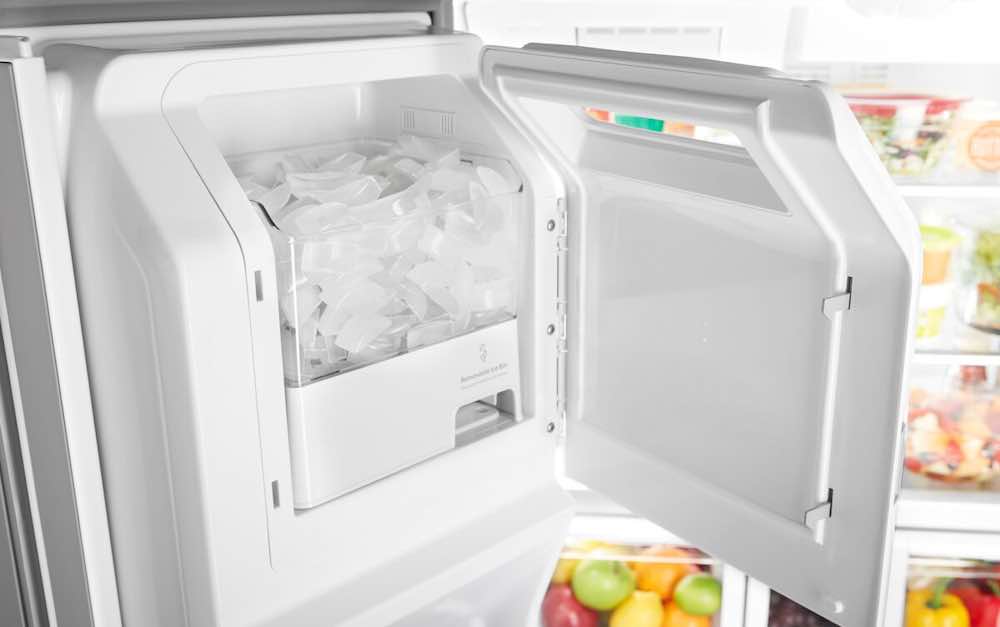
Having issues with your Whirlpool WRX735SDBM02 ice maker? Don’t worry, you’ve come to the right place!
In this article, we’ll take a deep dive into the common causes of ice maker malfunctions and provide step-by-step instructions to help you troubleshoot and fix the issue.
Before we get started, it’s important to note that the Whirlpool WRX735SDBM02 ice maker is a complex piece of machinery that requires a certain level of expertise to fix. If you’re not comfortable working with appliances, we recommend reaching out to a professional for assistance.
With that said, let’s dive into the troubleshooting process.
Whirlpool WRX735SDBM02 Ice Maker Not Working: Troubleshooting Guide
Step 1: Check the Power and Water Supply
The first thing you should check when your Whirlpool WRX735SDBM02 ice maker stops working is the power supply. Ensure that the ice maker is plugged in and that the circuit breaker hasn’t tripped. If the power supply is fine, then move on to checking the water supply.
Ensure that the water supply line is connected and not kinked. You can also check the water inlet valve to ensure that it’s not clogged with debris. If there is no water supply, the ice maker will not work.
Step 2: Check the Ice Maker’s Bail Arm
The function of the ice maker’s bail arm is to stop the ice production when the ice bin is full. If the arm is stuck in the up position, the ice maker will stop producing ice. To fix this issue, simply push the arm down to the “on” position.
Step 3: Check the Ice Maker’s Fill Tube
The fill tube in the ice maker delivers water to the ice maker. If the tube is frozen or clogged, the ice maker will not work. Fortunately, this issue is very easy to fix. All you have to do is to unplug the refrigerator and use a hairdryer to melt any ice that may be blocking the tube. You can also use a thin wire to clear any debris that may be clogging the tube.
Step 4: Check the Ice Maker’s Thermostat
Regulating the temperature inside the ice maker is done by the thermostat. If the thermostat is faulty, the ice maker may stop working. To check the thermostat, you’ll need a multimeter. Set the multimeter to the ohms setting and touch the probes to the thermostat’s terminals. The reading should be zero ohms. If it’s not, you’ll need to replace the thermostat.
Step 5: Check the Ice Maker’s Motor Module
The ice maker’s motor module turns the ice ejector blades. A faulty module will cause the ice maker to malfunction. To check the motor module, you’ll need to remove the ice maker from the refrigerator and disassemble it.
Check the motor module’s gears and wires for any damage. If you find any damage, you’ll need to replace the motor module.
Step 6: Check the Ice Maker’s Water Inlet Valve
The water inlet valve of the ice maker supplies water to the ice maker. If the valve is faulty, the ice maker will not work. To check and fix the issue with the water inlet valve, unplug the refrigerator and remove the valve’s cover.
Check the valve’s solenoid coils for any damage. If you find any damage, you’ll need to replace the water inlet valve.
Step 7: Check the Ice Maker’s Control Board
Control board issues on the ice maker are not common, however, a faulty control board will prevent the ice maker from working. While it is not recommended that you fix the control board , you can check it for faults.
To check the control board, you’ll need to get a multimeter. When you have the multimeter, set it to the ohms setting and touch the probes to the control board’s terminals. The reading should be consistent with the manufacturer’s specifications. If the reading is not consistent, you’ll need to replace the control board.
Step 8: Reset the Ice Maker
If you’ve gone through all the previous steps and your Whirlpool WRX735SDBM02 ice maker still isn’t working, it may be time to reset the unit.
To do this, unplug the refrigerator for 5 minutes and then plug it back in. This will reset the ice maker’s control board and may fix any issues that were causing the ice maker to malfunction.
How To Maintain The Ice Maker And Prevent Problems
Maintaining your Whirlpool WRX735SDBM02 ice maker is necessary to ensure it works efficiently and to prevent any future problems. Here are some tips on how to maintain your ice maker:
Clean the Ice Maker Regularly
Ensure that you clean your ice maker regularly to prevent the buildup of mold and bacteria. To clean your ice maker, turn off the unit and remove the ice bin. Use a mild soap and warm water to clean the ice bin and the interior of the ice maker. Rinse thoroughly and let the unit dry completely before turning it back on.
Replace the Water Filter
A clogged or dirty water filter can prevent water from flowing to the ice maker, causing it to malfunction. Whirlpool recommends replacing the water filter every 6 months or when the “Replace Filter” indicator light turns on.
Check the Water Supply Line
Periodically check the water supply line for any kinks, leaks, or damage. Replace any damaged lines to ensure a steady supply of water to the ice maker.
Use the Ice Maker Regularly
Using the ice maker regularly prevents ice from clumping together and helps keep the unit working efficiently. If you’re not using the ice maker often, consider emptying the ice bin and turning off the unit until you need it again.
Check the Temperature Settings
Ensure that the refrigerator and freezer temperature settings are set correctly. The temperature in the freezer should be set between 0°F and 5°F, while the refrigerator should be set between 35°F and 40°F. If the temperatures are too high, it can cause the ice maker to malfunction.
When you follow these maintenance tips, you can prevent future problems and keep your Whirlpool WRX735SDBM02 ice maker working efficiently. Remember to consult the user manual for specific instructions on how to clean and maintain your ice maker.
Related:
- GE Dishwasher Diagnostic Mode Instructions
- GE Dishwasher No Lights on Control Panel [FIXED]
- GE Dishwasher Fuse Location Revealed
- Samsung Dishwasher Diagnostic Mode Instructions
- GE Microwave Fuse Location & Replacement Guide
- Kitchenaid Dishwasher Diagnostic Mode Explained
- Kohler Touchless Faucet Not Working: Causes & Fixes
- Best Settings for Miele Coffee Machine
- Cuisinart Dehydrator Temperature Settings Guide
- Cuisinart Coffee Grinder Settings Explained


![GE Dishwasher No Lights on Control Panel [FIXED]](https://homestuffmag.com/wp-content/uploads/2023/07/ge-dishwasher-fuse-location-211x150.jpg "GE Dishwasher No Lights on Control Panel [FIXED]")


