Kidde is a well-known brand that produces smoke alarms for residential and commercial use. Their alarms are equipped with a variety of features, including light codes, that help to communicate information to the user. The light codes on Kidde smoke alarms are designed to indicate different types of alerts, including fire, low battery, and end of life.
In this guide, we’ll take an in-depth look at Kidde smoke alarm light codes and what they mean.
Types of Kidde Smoke Alarm Light Codes
Kidde smoke alarms have two types of light codes: the power-on indicator and the alarm indicator. The power-on indicator is a green light that indicates the alarm is receiving power. The alarm indicator is a red light that indicates a problem with the alarm.
Power-On Indicator
The power-on indicator is a green light that is always on when the alarm is receiving power. This light is a sign that the alarm is working correctly and has not detected any problems. If the green light is not on, it may indicate a power issue, and you should check the power source to ensure it is connected correctly.
Alarm Indicator
The alarm indicator is a red light that flashes when the alarm detects a problem. This light is intended to grab your attention and alert you that there is a potential problem with the alarm. The following are the different types of alarm light codes you may encounter:
- Rapid Flashing Red Light: If you see a rapid flashing red light, it means that the alarm has detected smoke or fire. In this case, you should take immediate action and evacuate the building.
- Intermittent Red Flashing Light: An intermittent red flashing light indicates a low battery. This light code indicates that the alarm’s battery is running low and needs to be replaced. You should replace the battery as soon as possible to ensure that the alarm is working correctly.
- Solid Red Light: If the red light is solid, it may indicate a malfunction with the alarm. You should immediately check the alarm’s manual for troubleshooting steps and take the necessary actions to resolve the issue.
- Red Light with Three Beeps: A red light with three beeps indicates that the alarm has reached the end of its life and needs to be replaced. Smoke alarms typically have a lifespan of around 10 years. You should replace the alarm as soon as possible to ensure your safety.
- Green and Red Flashing Light: If you see a green and red flashing light, it indicates that the alarm has been reset. You may see this light code after replacing the battery or testing the alarm.
- No Light: If there is no light, this could mean that the alarm is not receiving power. In this case, you should check the power source to ensure that the alarm is connected correctly.
How to Maintain the Kidde Smoke Alarm
Maintaining and testing your Kidde smoke alarm is necessary to ensure that your home and family remain safe. In this guide, we will walk you through the steps you need to take to ensure that your smoke alarm is in good working order and will alert you in the event of a fire.
1. Replace the Batteries
One of the most critical steps in maintaining your Kidde smoke alarm is to replace the batteries. Dead batteries can cause your smoke alarm to malfunction or fail to alert you in the event of a fire. It’s recommended that you replace your smoke alarm batteries at least once a year.
To replace the batteries in your Kidde smoke alarm:
- Remove the smoke alarm from the ceiling or wall.
- Open the battery compartment.
- Remove the old batteries and dispose of them properly.
- Insert new batteries into the compartment, making sure to align them correctly with the + and – signs.
- Close the battery compartment and reattach the smoke alarm to the ceiling or wall.
2. Clean Your Smoke Alarm
Dust and dirt tend to build up inside the smoke alarm as times go by. This can cause it to malfunction if not checked. To keep your smoke alarm in good working order, you should clean it regularly.
To clean your Kidde smoke alarm:
- Remove the smoke alarm from the ceiling or wall.
- Use a soft brush or vacuum cleaner to remove any dust or debris from the outside of the smoke alarm.
- Open the smoke alarm and use a can of compressed air to blow any dust or debris out of the inside of the smoke alarm.
- Replace the smoke alarm on the ceiling or wall.
3. Test Your Smoke Alarm
Testing your smoke alarm is an essential part of ensuring that it will work when you need it. Kidde recommends testing your smoke alarm at least once a month to make sure that it is working correctly.
To test your Kidde smoke alarm:
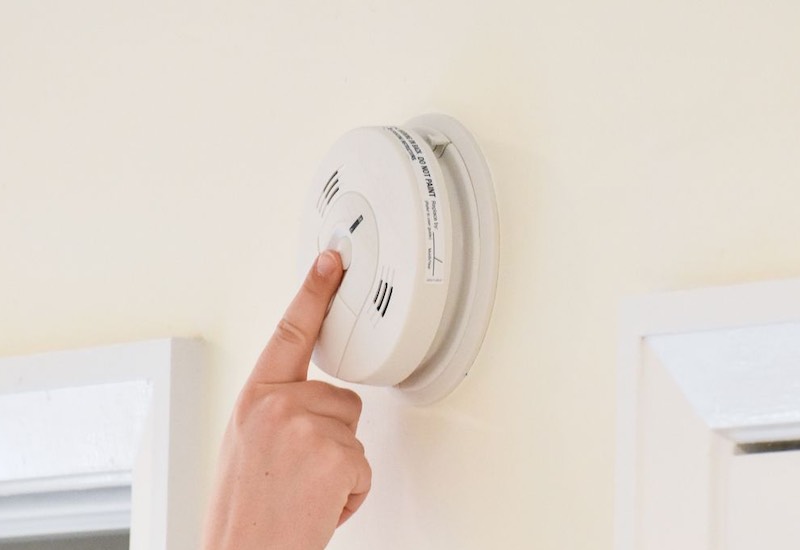
- Press and hold the test button on the front of the smoke alarm until you hear the alarm sound.
- If you do not hear the alarm sound, check the batteries and clean the smoke alarm.
- If the smoke alarm still does not sound, it may be time to replace the smoke alarm.
4. Replace Your Smoke Alarm
Another recommendation from Kidde is that you replace your smoke alarm every 10 years. After this time, the sensors in the smoke alarm may no longer function correctly, and the smoke alarm may fail to alert you in the event of a fire.
To replace your Kidde smoke alarm, follow these steps:
- Remove the old smoke alarm from the ceiling or wall.
- Install a new smoke alarm according to the manufacturer’s instructions.
- Test the new smoke alarm to ensure that it is working correctly.
Final Thoughts
Kidde smoke alarms are an essential safety feature in any home or building. It’s crucial to understand the different light codes and what they mean to ensure that your alarm is working correctly. If you encounter any issues with your Kidde smoke alarm, refer to the user manual for troubleshooting steps.


![First Alert Smoke Detector Blinking Red Light [Fixed]](https://homestuffmag.com/wp-content/uploads/2023/04/first-alert-smoke-detector-blinking-red-light-211x150.jpg "First Alert Smoke Detector Blinking Red Light [Fixed]")
